Agent Real Time Coaching
1. Prerequisites
Before you start, ensure you have the following:
2. Clone the repository
Use the git clone command to clone the PIOPIY python from our TeleCMI github repository
git clone https://github.com/telecmi/piopiy_python_example.git
Next, navigate to the ai_customer_support directory:
cd ai_customer_support
3. Intsall the piopiy venv package
Once inside the project directory, install the required venv packages
python -m venv venv
source venv/bin/activate  # On Windows, use `venv\Scripts\activate`
pip install -r requirements.txt
4. Export data from terminal
For testing purposes, we use Deepgram and ElevenLabs for text-to-speech. You can use either of the accounts to test it, or alternatively, you can use any text-to-speech service.
DG_API_KEY: We use text-to-speech as Deepgram. You can create the trial account and export API key from terminal.
EL_API_KEY: We use text-to-speech as ElevenLabs. You can create the trial account and export API key from terminal.
GROQ_API_KEY: We use LLM as Groq. You can create the trial account and export API key from terminal.
export DG_API_KEY=8a3aebba4cdc1001xxxxxxxxxxxxxxxxxxxxx
export EL_API_KEY=aebba4cdc1001xxxxxxxxxxxxxxxxxxxxx
export GROQ_API_KEY=gsk_caXklhYxxxxxxxxxxxxxxxxxxxxxx
5. WebSocket Code
Here is the code to create and run the WebSocket server:
import asyncio
import websockets
from piopiy import StreamAction
from asr.deepgram import stream_audio
#from tts.deepgram import set_wss
from tts.elevenlabs import set_wss

global wss
async def handle_client(websocket, path):
    print("Client connected")
    print(f"conn-{id(websocket)}")
    set_wss(websocket)
    try:
        async for message in websocket:
            if isinstance(message, bytes):
                a =10
                # print(f"Received binary message of {len(message)} bytes")
                # await websocket.send(message)  # Echoing the binary message back
                stream_audio(message)
            else:
                print("Received non-binary message:", message)

    except websockets.exceptions.ConnectionClosed as e:
        print(f"Connection closed: {e.code} - {e.reason}")
    finally:
        print("Client disconnected")


def send_tts_audio(audio_stream_base64):
    # Send the audio stream to the WebSocket
    print(audio_stream_base64)


async def main():
    server = await websockets.serve(handle_client, "localhost", 8765)
    print("WebSocket server started at ws://localhost:8765")
    await server.wait_closed()

if __name__ == "__main__":
    asyncio.run(main())
6. Running the WebSocket code
Run the server with the following command:
python websocket_server.py
7. Exposing the WebSocket Server using ngrok
To expose your local WebSocket server to the internet, use ngrok to create a public TCP URL:
- Start ngrok on port 8080 with the following command:
ngrok tcp 8080
- Copy the ngrok TCP URL, which will look something like tcp://0.tcp.ngrok.io
8. Using the ngrok TCP URL
Once you have the ngrok TCP URL, you can replace "WEBSOCKET_URL" in PIOPIY Code. For example:
ws://0.tcp.ngrok.io:xxxxx
9. Code
from flask import Flask, request, jsonify
from piopiy import Action
app = Flask(__name__)
@app.route("/python/inbound", methods=["POST"])
def inbound_call():
    action = Action()
    action.stream("WEBSOCKET_URL",{ "listen_mode":"caller", "voice_quality": "8000", "stream_on_answer": True })
    action.call("AGENT_NUMBER", "PIOPIY_NUMBER",{ "duration": 300, "timeout": 20, "loop": 2 })
    return jsonify(action.PCMO())
if __name__ == "__main__":
    app.run(port=3001, debug=True)
10. Configure the call parameters
Replace the value in the Basic Call code with your actual values for
11. Run the Code
Execute the code using python:
python agent_assist.py
12. Create a public URL using ngrok
To expose your local server to the internet, use ngrok to create a public URL:
ngrok http 3001
13. Configure Piopiy dashboard
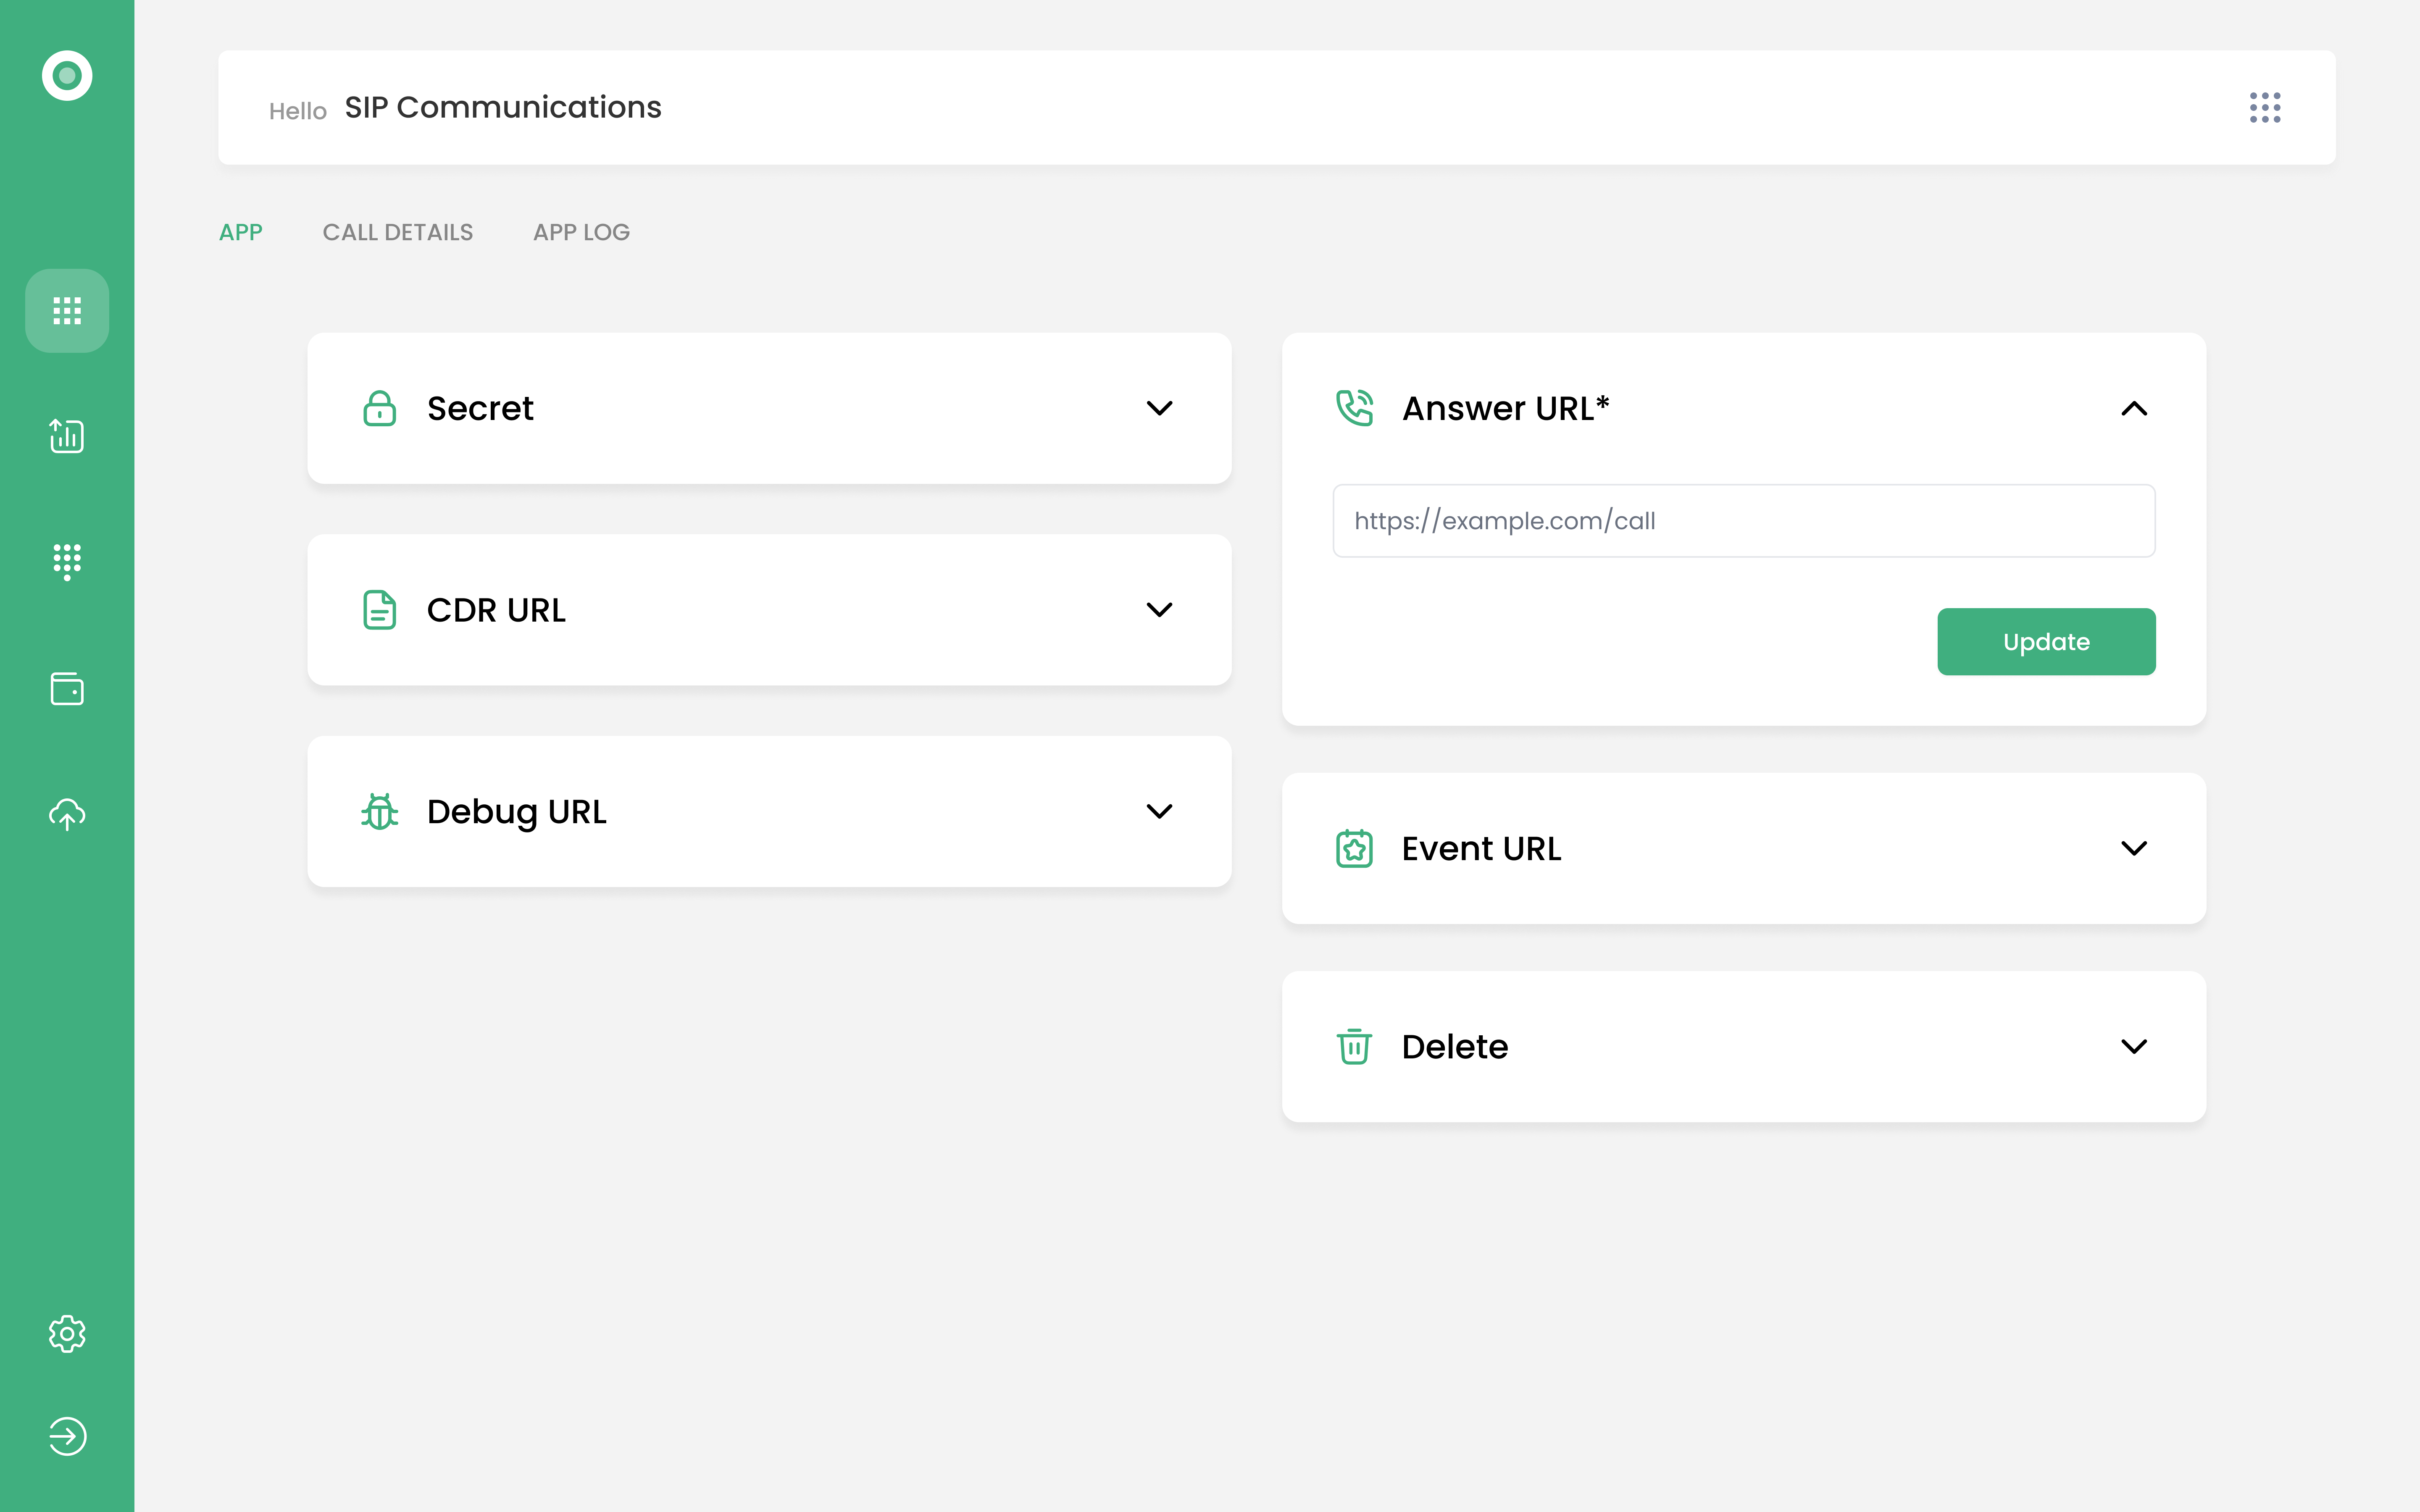
Log in to your Piopiy dashboard and paste the ngrok URL into the "Answer URL" input field. Ensure that the endpoint is set correctly to handle inbound calls.
https://customer.to.delivey.agent.ngrok.io/inbound
Copy the URL provided by ngrok. This URL will look something like https://customer.to.delivey.agent.ngrok.io.
14. Response
Below is the following sample call response.
{
  "data": { "status": 'progress' },
  "status": 'progress',
  "request_id": 'X0uoi5LT5vCMOG6CZGEdMMYD5RL9raaEFa1p1IQ9EVm',
  "cmi_code": 200
}