Making a Basic Call
First you've completed the initial setup, the most important step is to But a PIOPIY number. After configuring the number, the customer can initiate a call to the PIOPIY number, and the call will be directed to the assigned agent for response.
- Node.js
- Python
1.Prerequisites
Before you start, ensure you have the following:
2.Clone the repository
Use the git clone command to clone the PIOPIY node from our TeleCMI github repository.
git clone https://github.com/telecmi/piopiy_node_example.git
First, clone this repository to your local machine:
cd piopiy_node_example
3.Install the piopiy npm package
Once inside the project directory, install the required npm packages:
npm install
4. Code
const express = require("express");
const { PiopiyAction } = require("piopiy");
const app = express();
app.use(express.json());

app.post("/basic", (req, res) => {
  const action = new PiopiyAction();
  const agent_number = "Your agent phone number"; // Your agent's phone number with country code
  const piopiy_number = "Your piopiy number"; // Your piopiy number provided by the Piopiy TeleCMI platform.

  const options = {
    duration: 10, // (Optional) Maximum duration of the call in seconds
    timeout: 20, // (Optional) Time to wait for the call to be answered
    loop: 1, // (Optional) Number of retry attempts if the call is not answered
    record: true, // (Optional) Whether to record the call
  };

  action.call(agent_number, piopiy_number, options);
  res.send(action.PCMO());
});

app.listen(3001, () => { console.log(`Server is running on port 3001`) })
5. Configure the call parameters
Replace the value in the Basic Call code with your actual values for
6.Run the code
Execute the code using Node.js:
node sdk_example/inbound_call/basic.js
7.Create a public URL using ngrok
To expose your local server to the internet, use ngrok to create a public URL:
ngrok http 3001
Copy the URL provided by ngrok. This URL will look something like https://inbound.basic.call.ngrok.io.
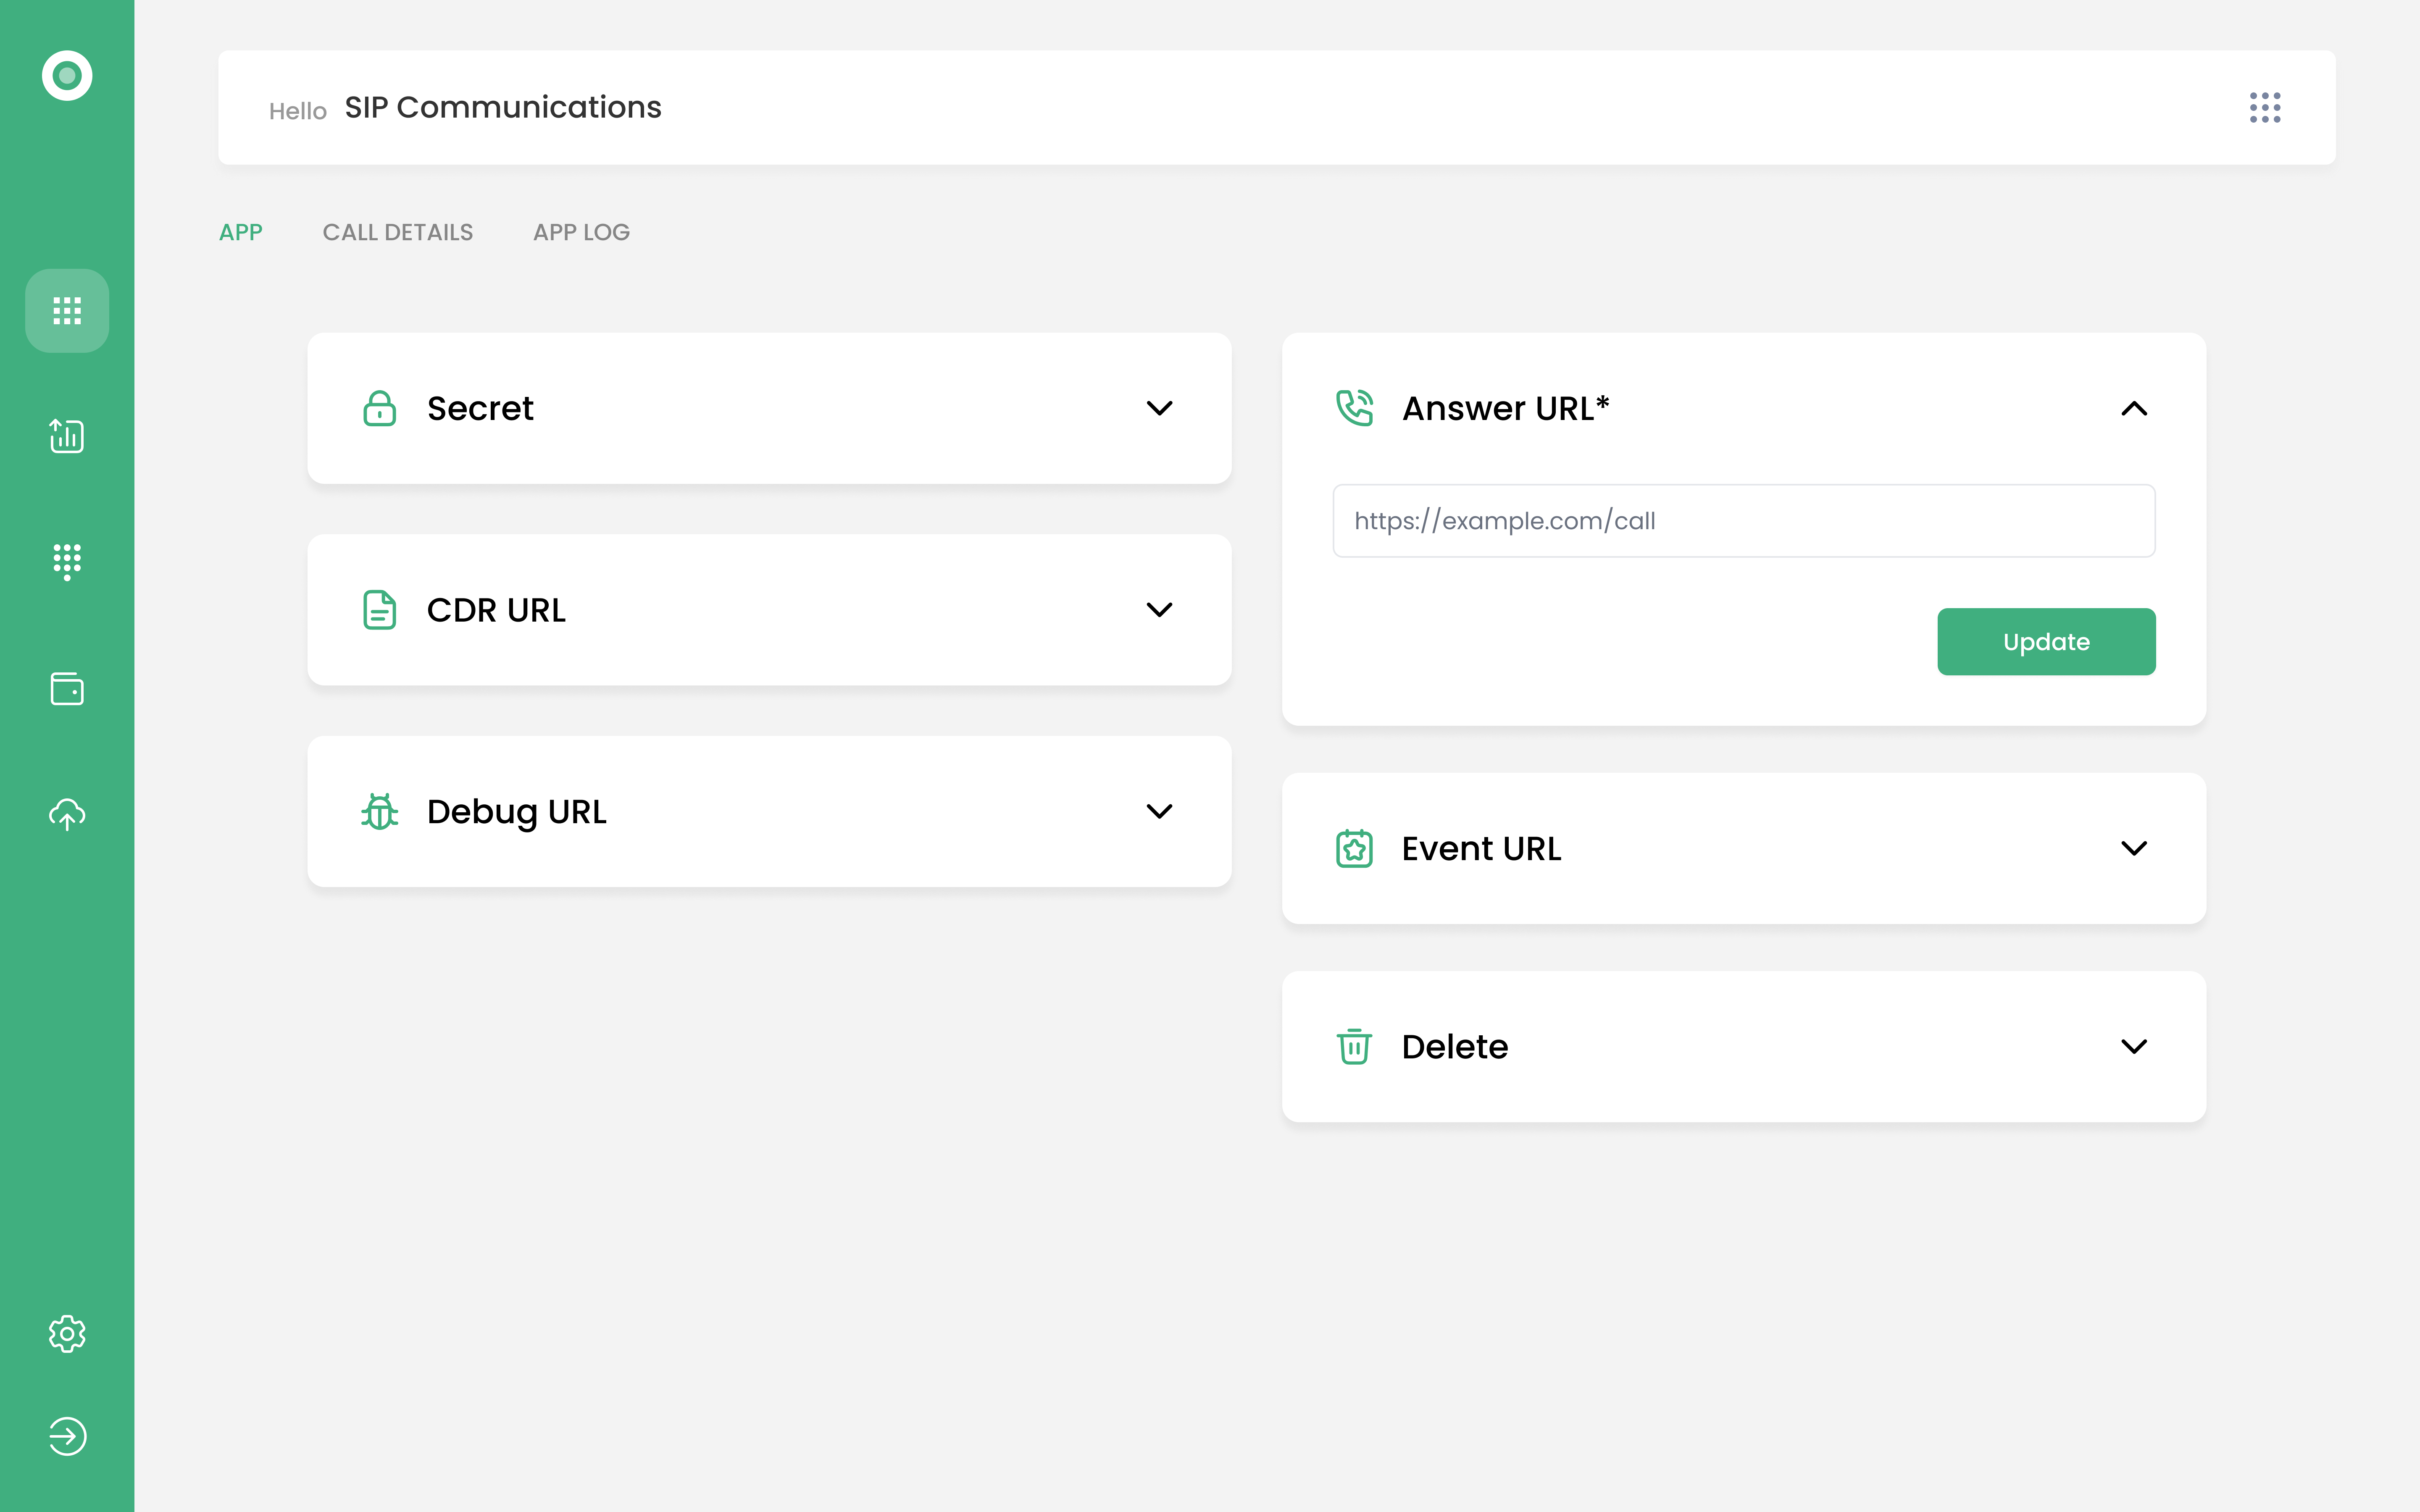
8. Configure the Answer URL
Enter the ngrok URL into the answer URL field. For example, if your ngrok URL is https://inbound.basic.call.ngrok.io, set the answer URL to:
https://inbound.basic.call.ngrok.io/basic
Then click the MAP APP button to configure it successfully.

9. Make an Incoming Call
Once everything is set up, have the customer make an incoming call to receive the call on the agent's number.
1.Prerequisites
Before you start, ensure you have the following:
2.Clone the repository
Use the git clone command to clone the PIOPIY Python example from our TeleCMI GitHub repository.
git clone https://github.com/telecmi/piopiy_python_example.git
First, clone this repository to your local machine:
cd piopiy_python_example
3.Install the required packages
Once inside the project directory, create a virtual environment and install the required packages:
python -m venv venv
source venv/bin/activate  # On Windows, use `venv\Scripts\activate`
pip install -r requirements.txt
4.Code
from flask import Flask, request, jsonify
from piopiy import Action

app = Flask(__name__)

@app.route('/basic', methods=['POST'])
def inbound_call():
    action = Action()

    # Define your numbers
    agent_number = "Your agent phone number"  # Your agent phone number with country code.
    piopiy_number = "Your piopiy number"      # Your Piopiy number provided by the Piopiy TeleCMI platform.

    # Options for the call
    options = {
        'duration': 10,     # (Optional) Maximum duration of the call in seconds
        'timeout': 20,      # (Optional) Time to wait for the call to be answered
        'loop': 1           # (Optional) Number of retry attempts if the call is not answered
    }

    # Make the call to the agent
    response = action.call(agent_number, piopiy_number, options)

    # Return the response from the action
    return jsonify({'status': 'call initiated', 'response': response})

if __name__ == '__main__':
    app.run(port=5000, debug=True)
5.Configure the call parameters
Replace the value in the Basic Call code with your actual values for
6.Run the code
Execute the code using Python:
python sdk_example/inbound_call/basic.py
7.Create a public URL using ngrok
To expose your local server to the internet, use ngrok to create a public URL:
ngrok http 5000
Copy the URL provided by ngrok. This URL will look something like https://inbound.basic.call.ngrok.io.
8.Configure the Answer URL
Enter the ngrok URL into the answer URL field. For example, if your ngrok URL is https://inbound.basic.call.ngrok.io, set the answer URL to:
https://inbound.basic.call.ngrok.io/basic
Then click the MAP APP button to configure it successfully.

9. Make an Incoming Call
Once everything is set up, have the customer make an incoming call to receive the call on the agent's number.